Halloween cookies are delicious, festive, buttery sugar treats decorated with spooky icing and fun sprinkles for the holiday season. These classic cookies feature a crisp edge, a soft center, and a perfect canvas for seasonal creativity. You can master this recipe quickly using simple pantry staples and standard baking techniques. Families love these treats because they offer a consistent, professional finish every single time.
Why This Recipe Works
This recipe works because it relies on high-quality butter and precise flour measurements to prevent spreading during the baking process. I developed this formula after years of testing various ratios to ensure the dough holds its shape perfectly for intricate Halloween cutters. The secret lies in chilling the dough, which firms up the fats and guarantees sharp, professional edges on every cookie.
Experience shows that most home bakers fail because they overwork the flour, leading to tough, chewy results. This method keeps the gluten development low for a tender, melt-in-your-mouth crumb. It delivers a reliable, crowd-pleasing base that accepts royal icing or simple buttercreams without soaking or softening the structure prematurely.
Recipe Overview
| Property | Details |
|---|---|
| Prep Time | 20 minutes |
| Cook Time | 10 minutes |
| Total Time | 1 hour 30 minutes |
| Servings | 24 cookies |
| Difficulty | Easy |
| Cuisine | American |
Ingredients
| Ingredient | Quantity | Notes |
|---|---|---|
| Unsalted Butter | 1 cup | Room temperature |
| Granulated Sugar | 1 cup | White sugar is best |
| Large Eggs | 1 | Room temperature |
| Vanilla Extract | 2 tsp | Pure extract preferred |
| All-Purpose Flour | 3 cups | Spoon and level |
| Baking Powder | 1 tsp | Check expiration date |
| Salt | 0.5 tsp | Fine sea salt |
Step-by-Step Instructions
Preparing the Dough
- Cream the butter and sugar in a large bowl until the mixture appears light and fluffy.
- Add the egg and vanilla extract to the bowl while beating on medium speed.
- Whisk the flour, baking powder, and salt together in a separate medium-sized mixing bowl.
- Combine the dry ingredients with the wet ingredients gradually until a soft dough forms.
Chilling and Cutting
- Divide the dough into two disks and wrap them tightly in plastic wrap.
- Refrigerate the dough for at least one hour to allow the fats to solidify.
- Roll the dough out onto a floured surface until it reaches a quarter-inch thickness.
- Cut the shapes using Halloween-themed cookie cutters such as bats, pumpkins, or ghosts.
Baking
- Preheat your oven to 350 degrees Fahrenheit.
- Arrange the cut cookies on a lined baking sheet with two inches of space between them.
- Bake for ten minutes or until the edges appear lightly golden brown.
- Cool the cookies on a wire rack completely before applying any icing or decorations.
Chef Tips for Perfect Results
- Measure your flour by spooning it into the measuring cup instead of scooping to prevent density.
- Use a silicone baking mat to provide a consistent heat transfer for the bottom of the cookies.
- Rotate your baking sheets halfway through the cooking time to ensure an even golden color.
- Re-chill the dough scraps for ten minutes if they get too warm while you are cutting.
Common Mistakes to Avoid
- Overmixing the dough creates excess gluten, which makes the cookies tough rather than tender.
- Baking on warm pans causes the cookies to spread before the heat sets the structure.
- Skipping the chilling step results in loss of definition for complex cookie cutter shapes.
- Opening the oven door frequently releases heat and prevents the cookies from rising evenly.
Variations and Substitutions
| Ingredient | Substitution | Impact on Flavor |
|---|---|---|
| Vanilla Extract | Almond Extract | Adds a nuttier, marzipan-like aroma |
| Granulated Sugar | Maple Sugar | Provides a deeper, earthy sweetness |
| All-Purpose Flour | Gluten-Free Blend | Requires xanthan gum for structure |
Serving Suggestions and Pairings
Serve these cookies alongside warm pumpkin spice lattes or apple cider for a festive party setting. They pair well with vanilla bean ice cream during holiday gatherings. Consider setting up a cookie decorating station for children using pre-made royal icing tubes and various Halloween-themed sprinkles. For more inspiration on holiday baking, visit resources like King Arthur Baking.
Storage and Reheating
| Method | Duration | Instructions |
|---|---|---|
| Countertop | 5 days | Store in an airtight container |
| Freezer | 3 months | Flash freeze before bagging |
Nutritional Information (Approximate values)
| Nutrient | Amount per Serving |
|---|---|
| Calories | 150 |
| Fat | 7g |
| Carbohydrates | 20g |
| Protein | 2g |
Frequently Asked Questions
Can I make these cookies without chilling the dough?
Chilling the dough is necessary to maintain the shape of your Halloween designs during the baking process. Skipping this step leads to spreading and blurred edges on your cutouts.
How do I know when the cookies are done?
The cookies are done when the edges look lightly golden and the centers appear matte rather than shiny. Avoid over-baking them to maintain a soft texture.
Can I freeze the dough for later use?
You can freeze the cookie dough disks for up to one month if wrapped in double layers of plastic. Thaw the dough in the refrigerator overnight before rolling and cutting.
Why did my cookies spread in the oven?
Spreading occurs when the butter in the dough is too warm or the oven temperature is too low. Always ensure your oven is fully preheated to 350 degrees Fahrenheit before baking.
How long can I store decorated cookies?
Decorated cookies stay fresh for five days in an airtight container at room temperature. Keep them in a cool, dry place to prevent the icing from becoming sticky.
Conclusion
Halloween cookies provide a delightful way to celebrate the spooky season with friends and family. By following these simple steps and tips, you achieve consistent, professional results every time you bake. Use this versatile recipe to experiment with different icing colors and festive decorations. Embrace the spirit of the holiday and enjoy the sweet, buttery satisfaction of these perfect sugar treats. Happy baking and enjoy your festive creations this year.
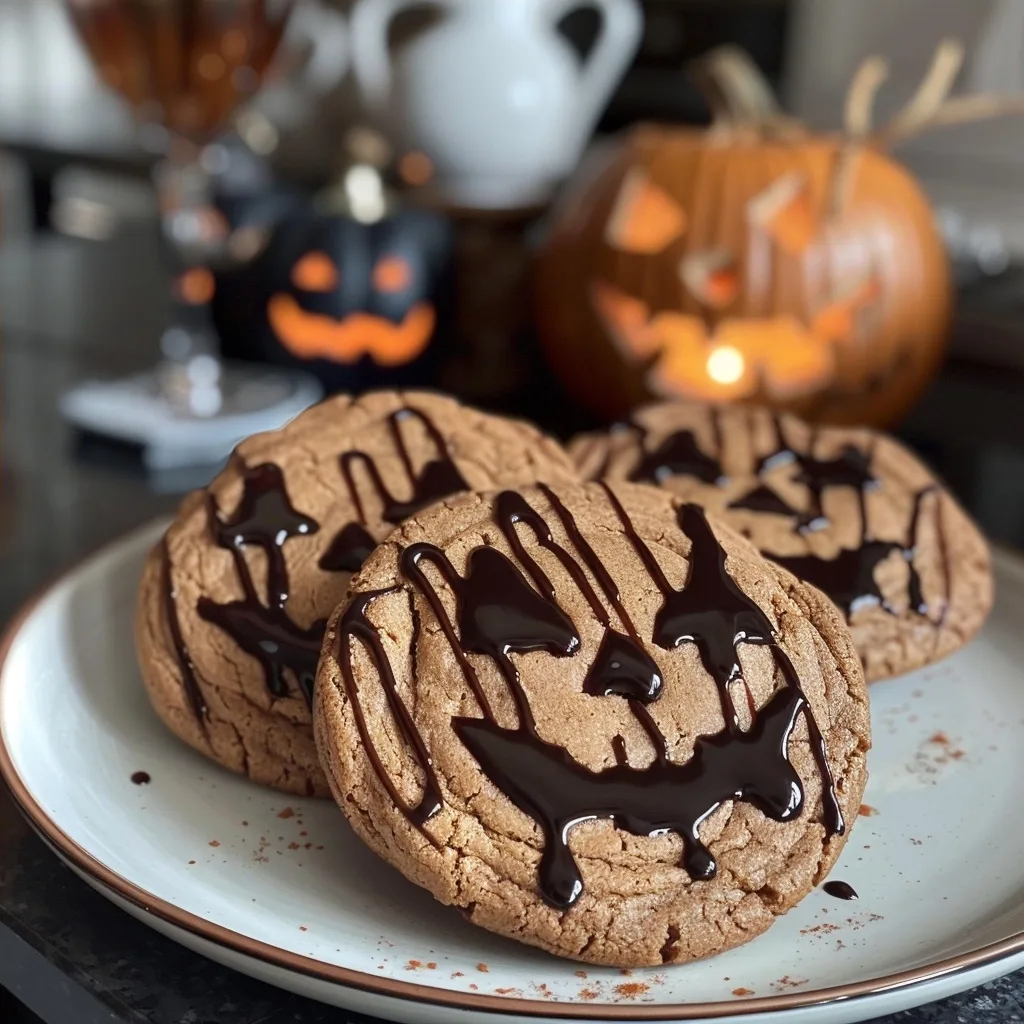
Halloween Spooky Sugar Cookies
Ingredients
Method
- Cream the butter and sugar in a large bowl until light and fluffy.
- Add the egg and vanilla extract, beating on medium speed until well combined.
- In a separate bowl, whisk together the flour, baking powder, and salt.
- Gradually add the dry ingredients to the wet mixture until a soft dough forms.
- Divide the dough into two disks and wrap tightly in plastic wrap.
- Refrigerate for at least one hour to firm up the fats.
- Preheat your oven to 350°F (175°C).
- Roll the dough on a floured surface to a quarter-inch thickness.
- Cut into Halloween shapes and place on a lined baking sheet.
- Bake for 10 minutes or until edges are set but not browned.